
Kitchen Counter Organization Ideas for a Clutter‑free Small Kitchen
When the countertop is the only flat surface in a compact kitchen, every utensil, appliance, and spice jar competes for space. The result is often a visual mess that makes cooking feel chaotic and can even slow down meal preparation. This article walks you through seven distinct ways to reclaim that valuable surface, turning it from a clutter hotspot into a functional, inviting workspace. Each idea considers the realities of limited square footage, the need for easy cleaning, and the desire to keep the room feeling bright and airy.
1. Install a Slim, Open‑Shelved Riser
© 2026 AI Illustrator — Inspiration Only
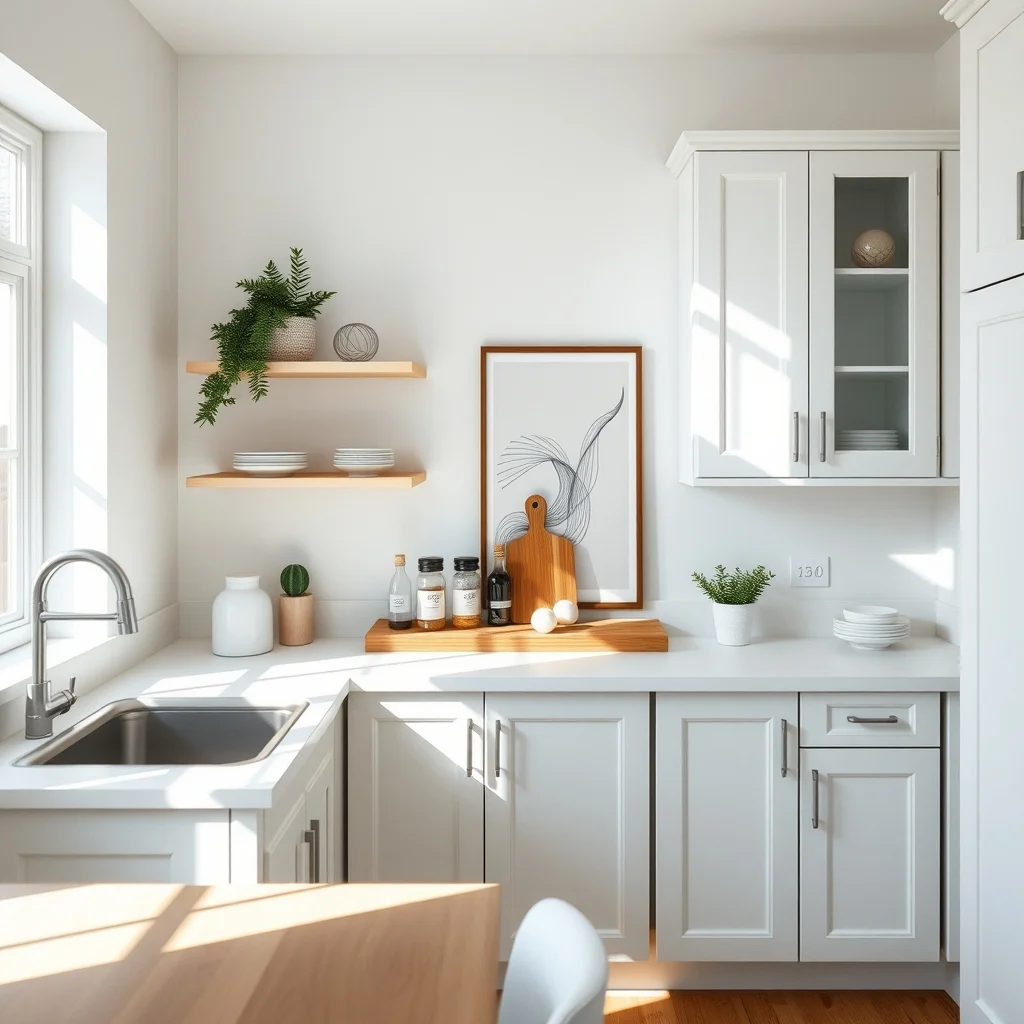
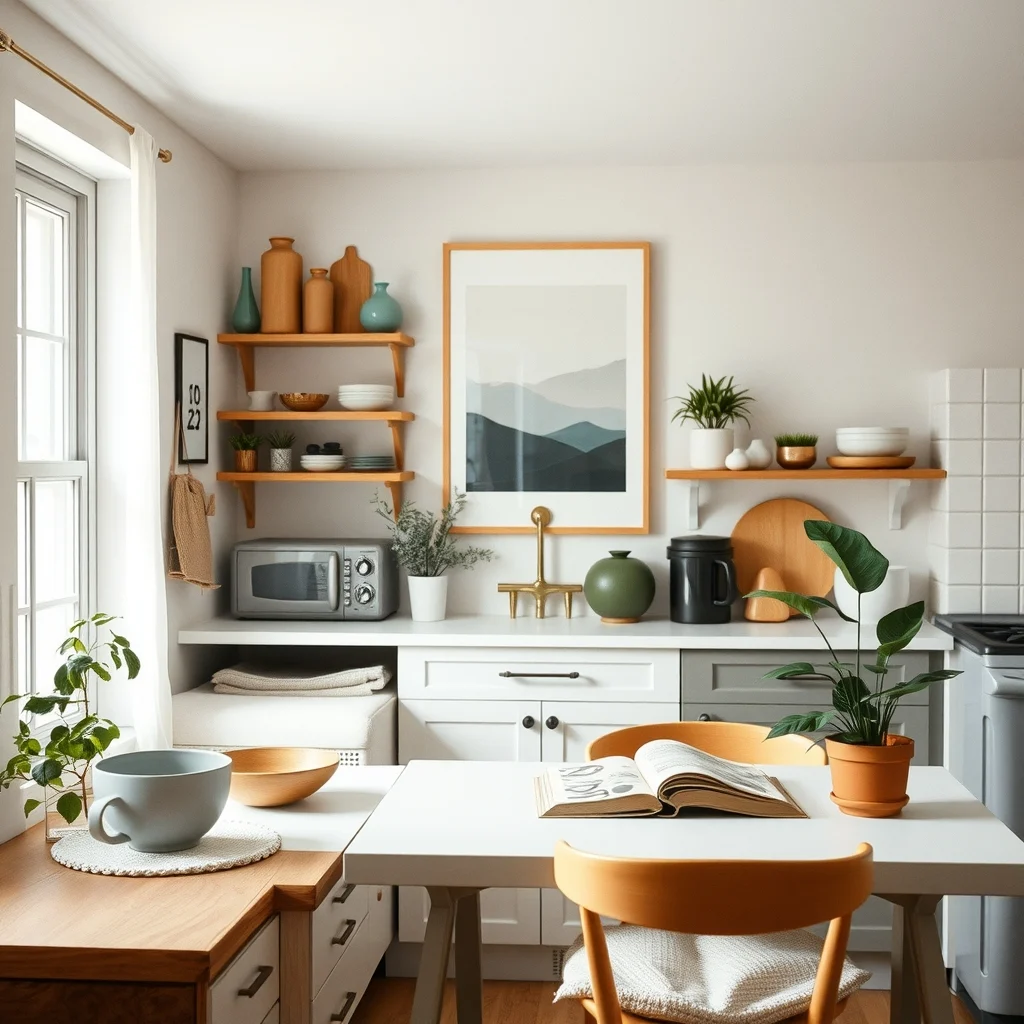
Instead of stacking cutting boards or baking trays directly on the countertop, a narrow wooden or metal riser that runs the length of the work area creates a second tier without adding bulk. The open shelves are deep enough to hold a few plates or a small bowl, while the space beneath remains free for daily prep. By raising items a few inches, you gain visual separation, which tricks the eye into perceiving more room. Choose a finish that echoes the cabinets—perhaps a light oak that reflects natural light or a brushed brass for a subtle contrast. The only trade‑off is that the riser occupies a thin strip of horizontal space, so it works best when you have a clear line of sight to the wall behind.
Which Home Style Fits Your Space?
Answer 5 quick questions to find your perfect interior style and inspiration.
2. Use Magnetic Strips for Metal Tools
© 2026 AI Illustrator — Inspiration Only
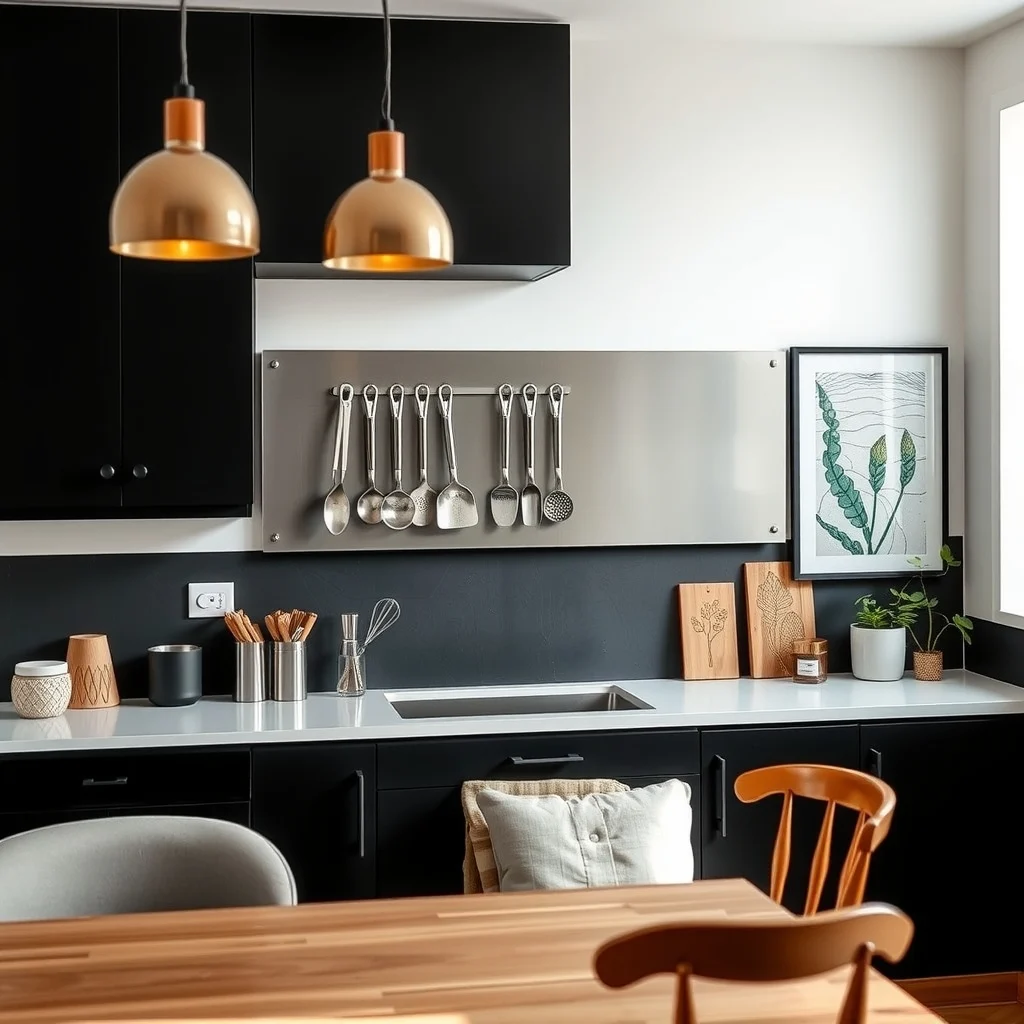
Magnetic knife strips are common, but extending the concept to a full‑width magnetic board lets you store metal spatulas, tongs, and even small stainless‑steel containers. The board adheres directly to the wall above the counter, freeing the surface for cutting boards and bowls. Because the magnets hold items firmly, there’s no risk of a utensil slipping when you reach for it. A matte black or deep charcoal finish can serve as a visual anchor, especially in kitchens with light-colored countertops. The limitation lies in the need for metal items; wooden spoons and silicone tools will still need a drawer or basket.
3. Choose Stackable, Nesting Bowls with a Designated Base
© 2026 AI Illustrator — Inspiration Only
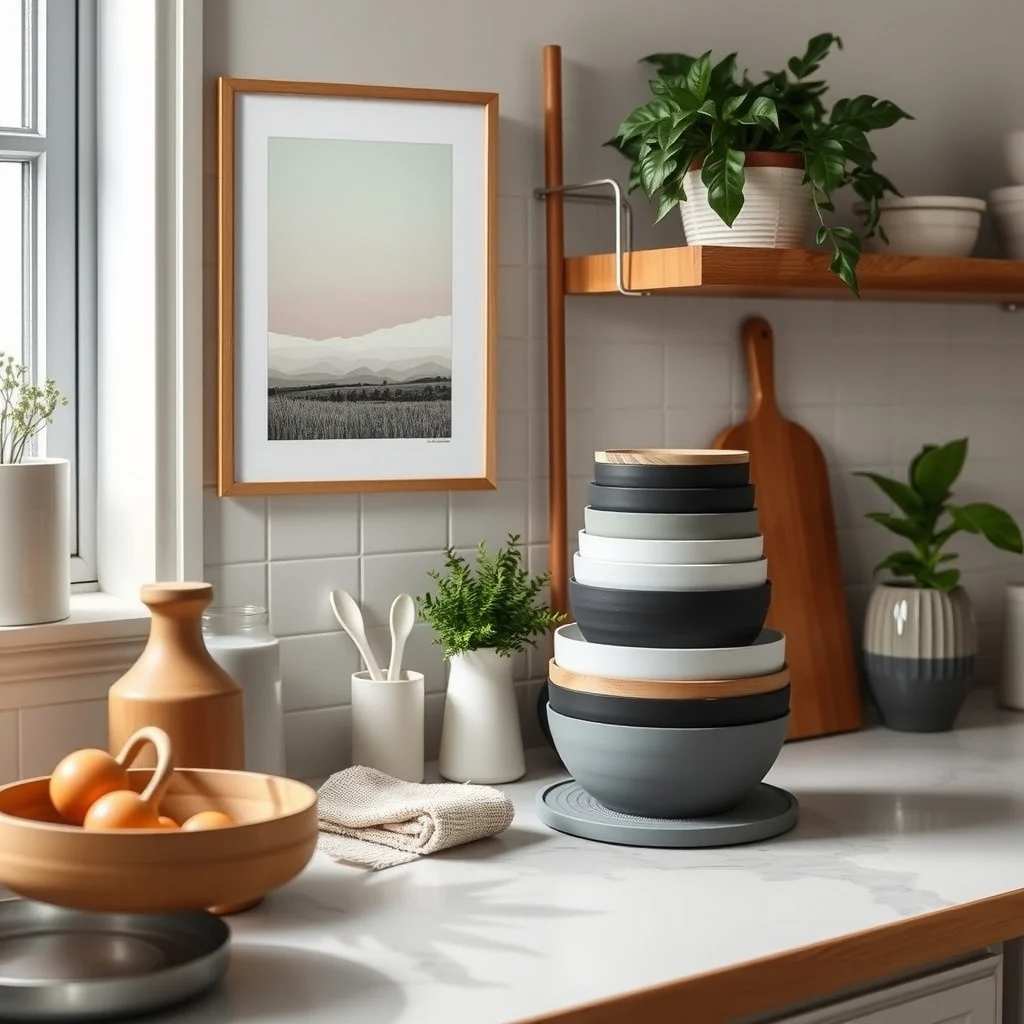
Nesting bowls are a staple, yet they often end up in a chaotic pile on the counter. Selecting a set that includes a low, flat base—such as a silicone mat in a soft gray—provides a home for the smallest bowl while keeping the others stacked neatly on top. The mat adds a non‑slip surface, protecting both the countertop and the bowls from scratches. When you need a bowl, you simply lift the top piece; when you’re done, you return it to its spot, maintaining order without extra cabinets. The downside is that very large mixing bowls may not fit within the nesting system, so a separate storage solution may still be required.
4. Incorporate a Pull‑Out Cutting Board Drawer
© 2026 AI Illustrator — Inspiration Only
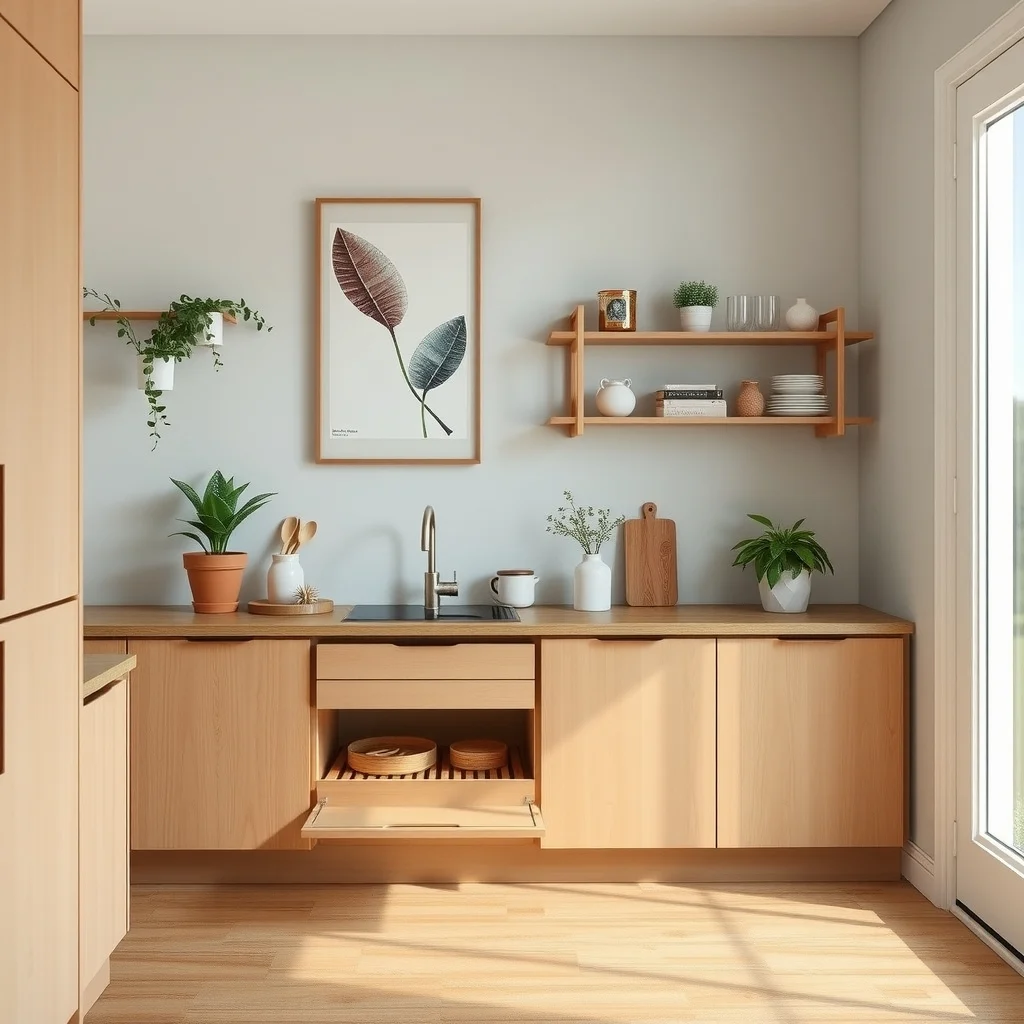
A shallow drawer that slides out like a drawer but functions as a cutting board gives you a dedicated prep zone that disappears when not in use. The board can be made from bamboo or a composite material that resists knife marks, and the drawer’s interior can be lined with a non‑absorbent mat to catch juices. When the drawer is pushed back, the countertop is instantly cleared, allowing space for a pot or a decorative vase. This solution works well with a light‑colored countertop because the board’s natural hue adds warmth without overwhelming the space. The main consideration is the drawer’s depth; it must be shallow enough not to interfere with the cabinet’s structural integrity.
5. Hang a Small, Open‑Front Cabinet Above the Counter
© 2026 AI Illustrator — Inspiration Only
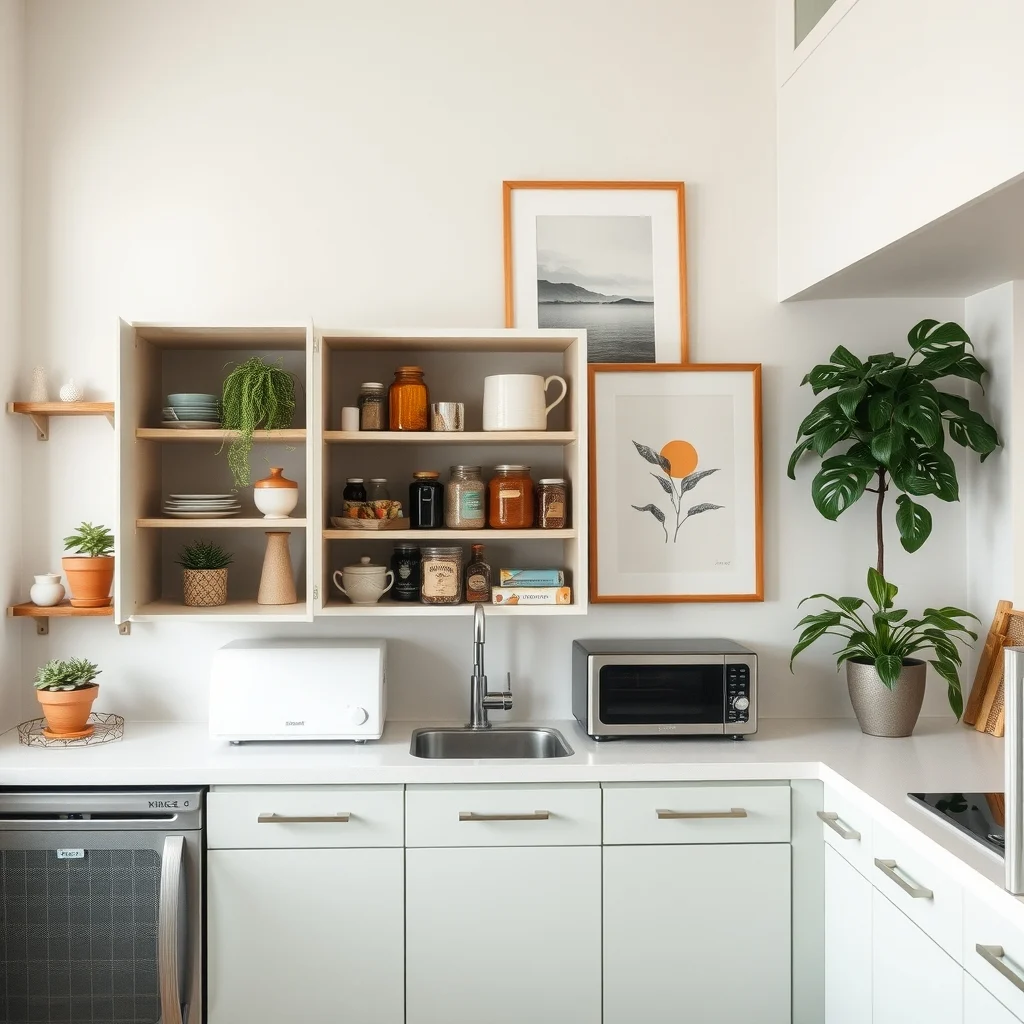
Even a narrow cabinet—four to six inches deep—mounted just above the work surface can store frequently used items such as a coffee maker, toaster, or a row of spice jars. An open front, perhaps with glass shelves, keeps the items visible and encourages you to return them after use. The cabinet’s upper edge can be painted the same color as the ceiling to blend seamlessly, while the interior may feature a light‑reflecting white finish to brighten the area. Because the cabinet occupies vertical space, it does not detract from the countertop’s usable area. However, the weight of heavier appliances should be considered; a reinforced mounting bracket may be necessary.
6. Employ a Tiered Fruit and Vegetable Stand
© 2026 AI Illustrator — Inspiration Only
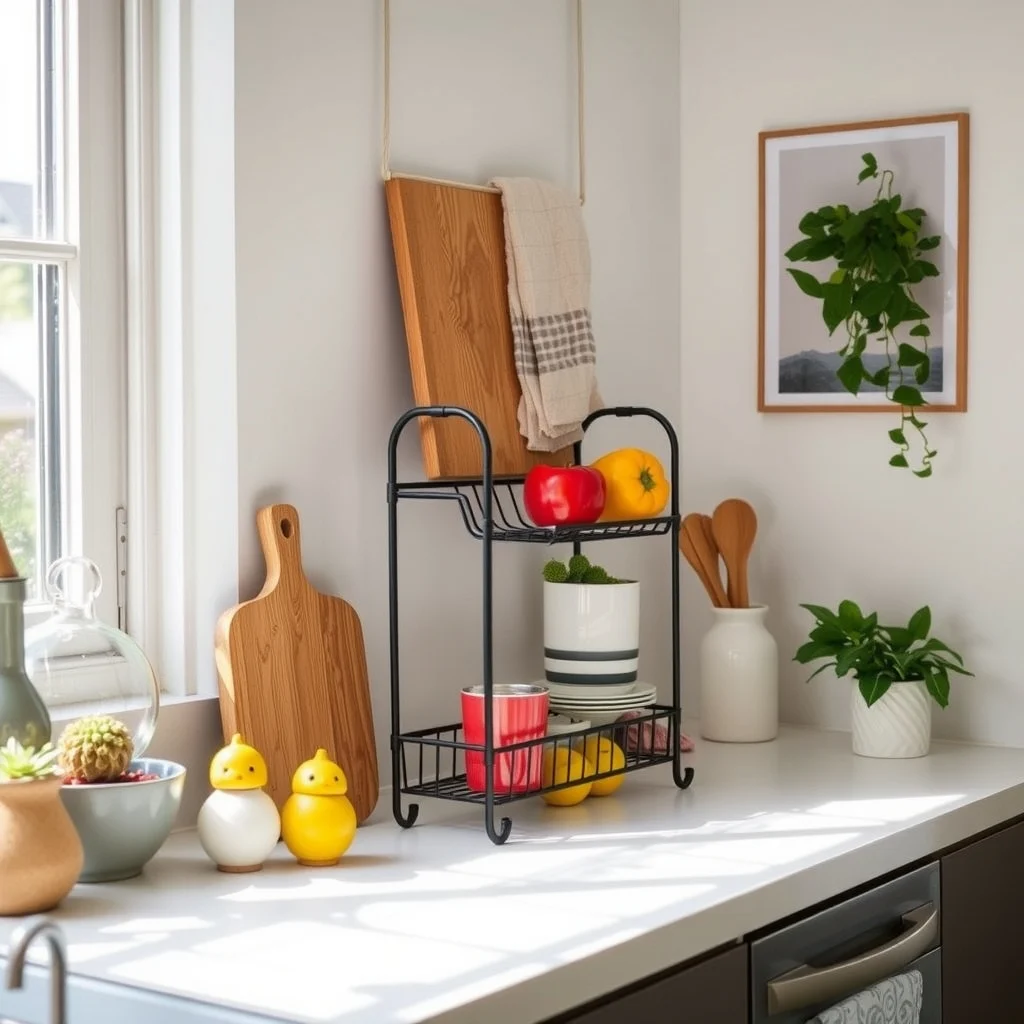
A compact, tiered stand made of wrought iron or reclaimed wood provides a designated spot for produce, keeping it off the counter and within easy reach. The multiple levels allow you to separate items by type—apples on the top, leafy greens on the middle, and larger vegetables on the bottom—reducing the need to shuffle items around during cooking. The stand’s open design promotes air circulation, which can extend the freshness of the produce. Selecting a finish that matches the kitchen’s hardware, such as brushed nickel, creates visual cohesion. The only caution is to keep the stand away from the sink to avoid water damage to the wood.
7. Add a Slim, Pull‑Out Trash Bin
© 2026 AI Illustrator — Inspiration Only
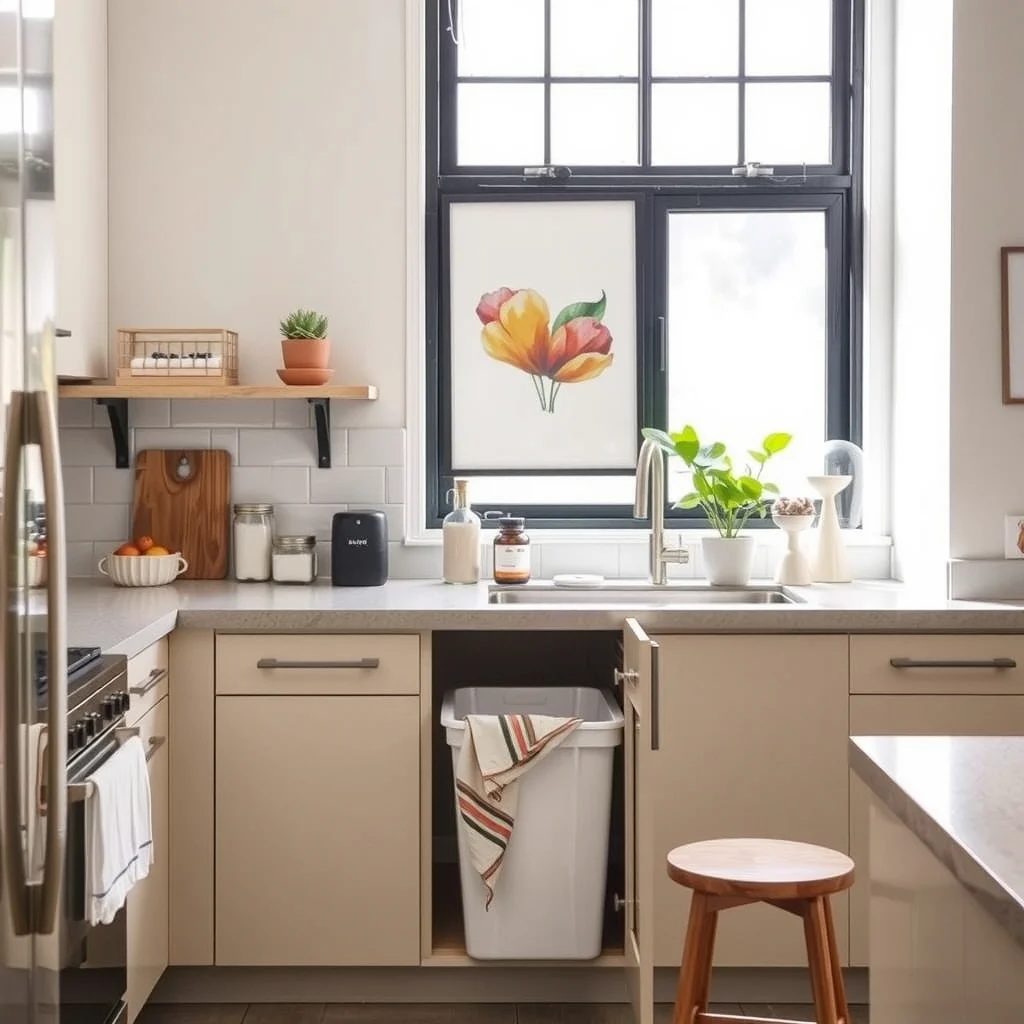
A narrow pull‑out trash bin slides under the countertop, eliminating the need for a bulky waste can that occupies valuable surface area. The bin can be made of stainless steel for a sleek look or a matte black polymer that resists fingerprints. When you pull the bin out, you have full access to the interior; when you push it back, the counter remains clear for food prep. This solution works particularly well in kitchens with a light countertop, as the hidden bin does not disrupt the visual flow. The main limitation is that the bin’s capacity is modest, so it’s best suited for daily waste rather than large clean‑up jobs.
FAQ
© 2026 AI Illustrator — Inspiration Only
How can I keep my small kitchen countertop looking tidy without buying expensive furniture?
You can achieve a tidy look by using inexpensive organizers such as magnetic strips, nesting bowls with a silicone base, or a DIY pull‑out cutting board made from a sturdy sheet of wood. Simple changes in placement and the use of vertical storage often have a bigger impact than large pieces of furniture.
What type of material is best for a countertop organizer that will be exposed to heat and moisture?
Materials like stainless steel, bamboo, and high‑density polymer resist heat and moisture well. Stainless steel can handle hot pots, bamboo is naturally water‑resistant, and polymer surfaces are easy to wipe clean and do not warp.
Is it safe to install a pull‑out drawer for a cutting board if I have cabinets with plumbing behind them?
Yes, as long as you avoid drilling into any pipes or water lines. Use a stud finder and confirm the location of utilities before cutting into the cabinet side. When in doubt, consult a professional to ensure the installation does not interfere with existing plumbing.
Can I use a magnetic strip for wooden utensils?
Magnetic strips only hold ferrous metal, so wooden spoons and silicone tools need a different solution such as a small basket or a drawer organizer. Mixing magnetic storage with a separate container keeps all utensils accessible without crowding the counter.
Which Living Room Color Palette Fits You Best?
Discover the palette that reflects your style — take our free quick quiz and get instant decor inspiration!
Take the Quiz NowHow often should I clean the open‑front cabinet above the counter?
Wipe the interior and shelves weekly with a mild cleaner to prevent dust and grease buildup. If you store appliances that generate heat, a more frequent cleaning schedule can help maintain a fresh appearance.
Final Thoughts
© 2026 AI Illustrator — Inspiration Only
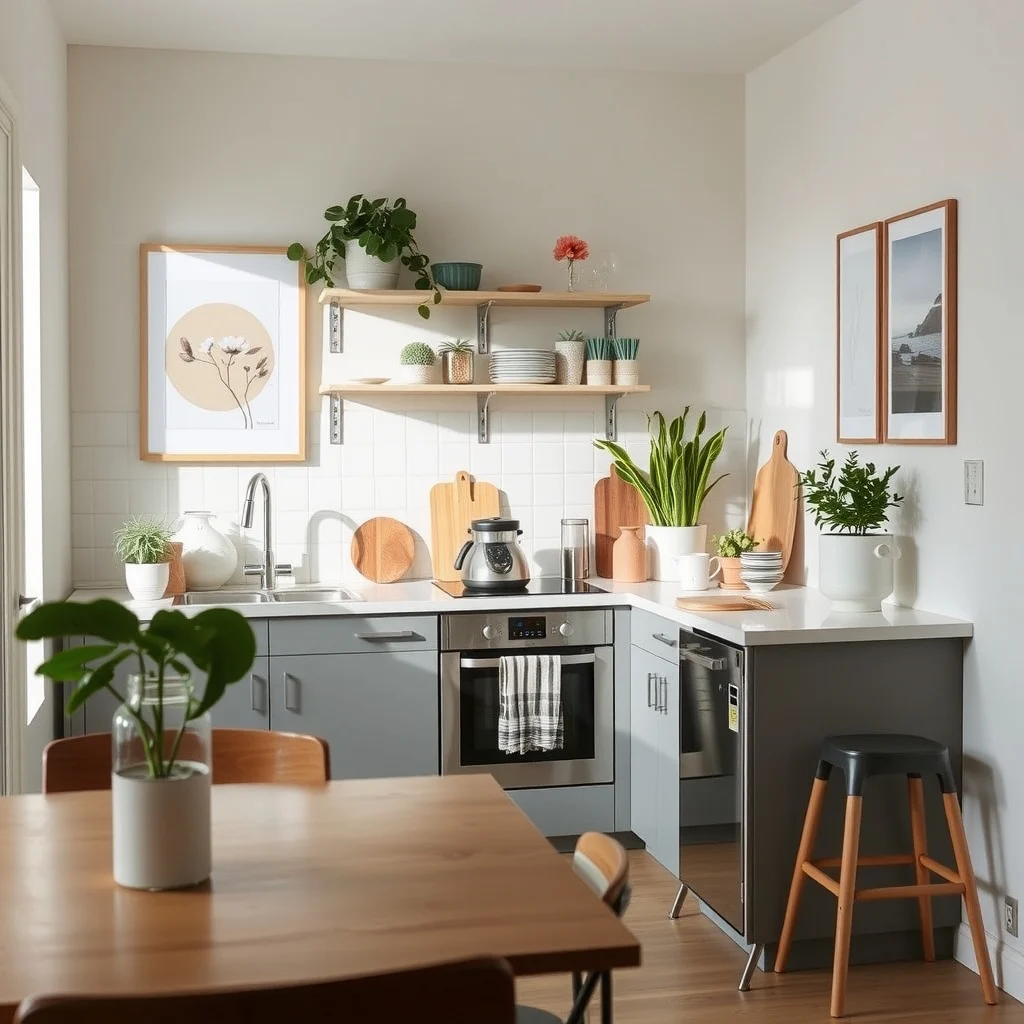
Creating a clutter‑free countertop in a small kitchen is less about buying the latest gadget and more about thoughtful placement and smart use of vertical space. By introducing a few strategic elements—riser shelves, magnetic boards, nesting containers, pull‑out solutions, and narrow cabinets—you can preserve the essential work area while keeping everyday items within easy reach. The key is to choose materials and finishes that complement the existing palette, to respect the limits of the space, and to maintain a regular routine of returning items to their designated spots. With these ideas in place, the countertop transforms from a source of frustration into a streamlined stage for cooking, gathering, and enjoying your home.