
Budget Kitchen Upgrades That Look High-end (without the Designer Price Tag)
Your kitchen doesn’t need a trust fund to look fabulous. With a few smart swaps and weekend projects, you can fake that custom, high-end vibe on a real-life budget. Ready to make your kitchen look expensive—even if you’re eating instant ramen? Let’s do it.
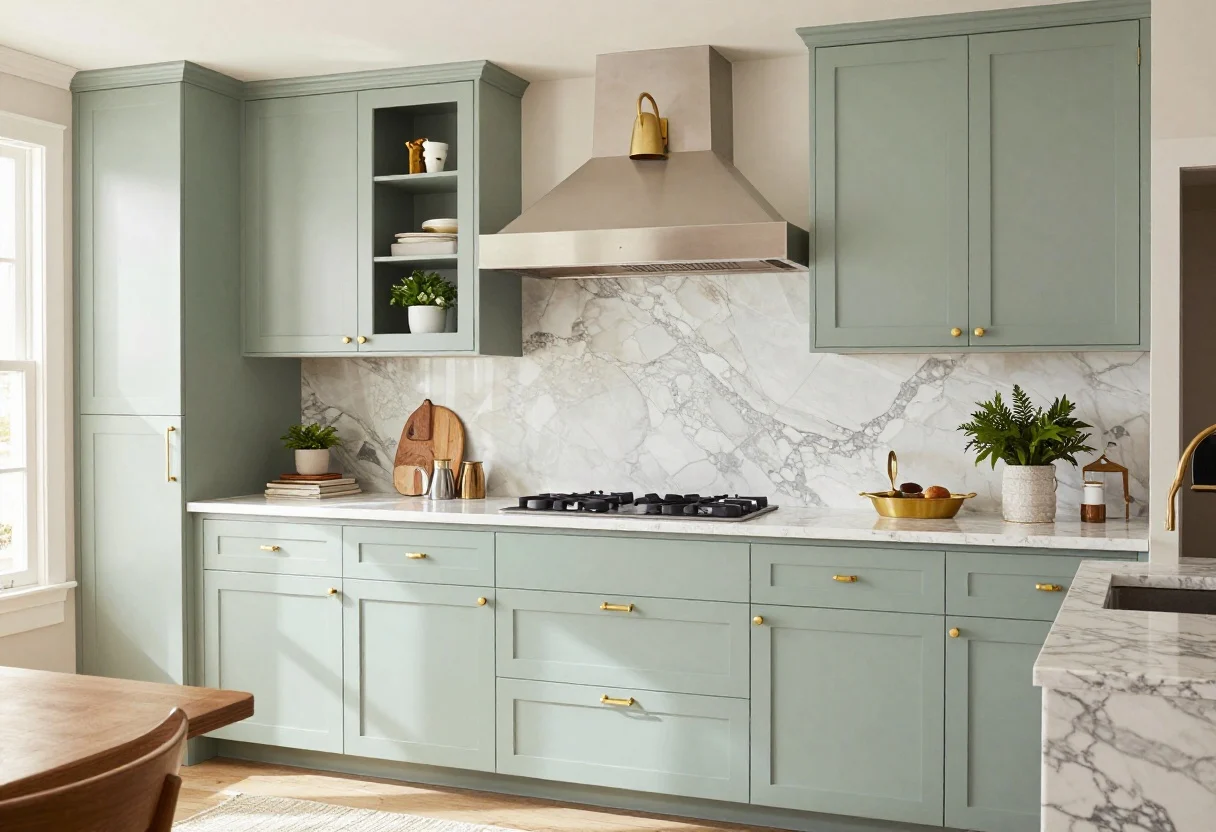
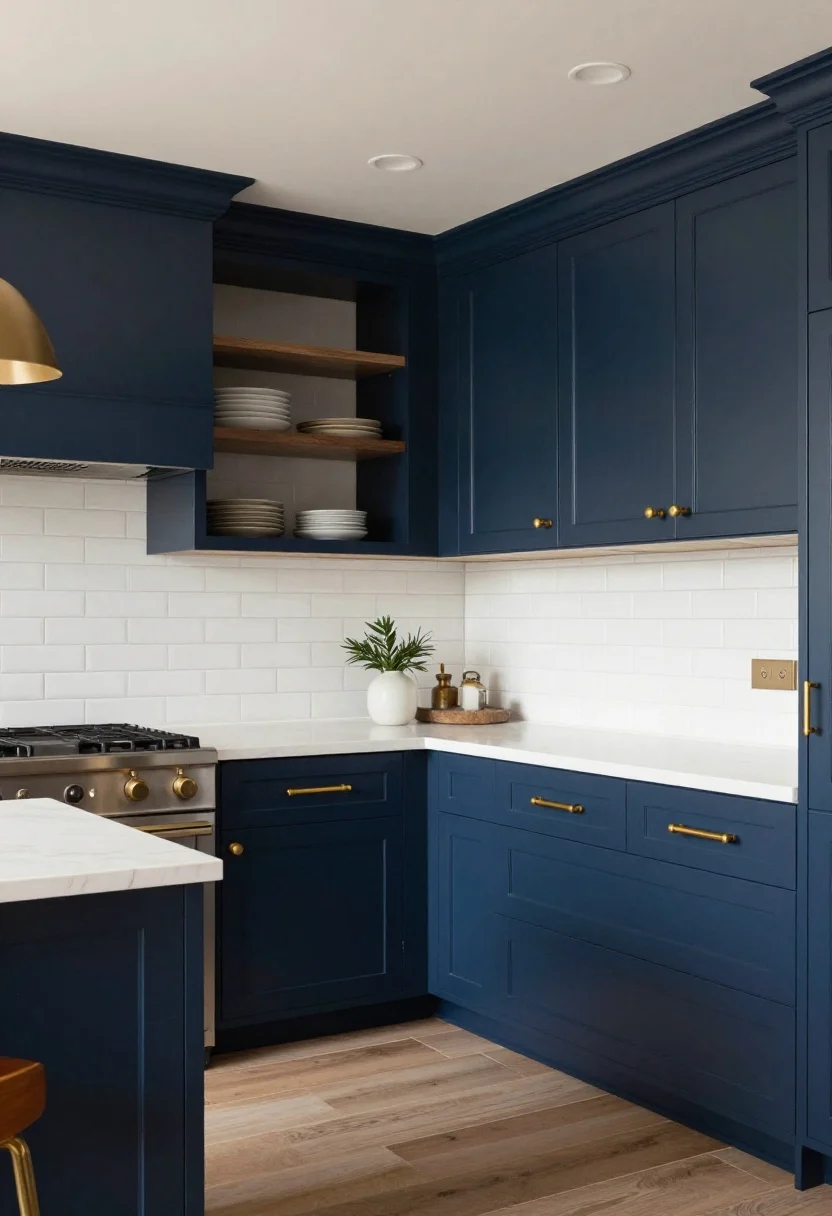
1. Paint Cabinets Like You Mean It
© 2025 AI Illustrator — Inspiration Only
Old cabinets aren’t a life sentence. A fresh coat of paint in a modern shade makes dated wood look designer-level. Think soft greige, creamy off-white, or deep navy for drama. The key? Flawless prep and a durable finish.
Which Home Style Fits Your Space?
Answer 5 quick questions to find your perfect interior style and inspiration.
Pro Prep = Pro Finish
- Clean with a degreaser. Grease ruins paint adhesion—don’t skip this.
- Lightly sand and fill dings. Smooth surfaces look more “custom.”
- Prime (especially if you’re covering oak or dark stains).
- Use enamel or cabinet paint for a hard, scrubbable finish.
Want instant polish? Color-match the walls and trim to the cabinet color for a seamless, built-in vibe. Or paint just the lowers a deeper tone and keep uppers light—hello, contrast.
What to shop for: primer, cabinet paint, foam rollers, angled brush.
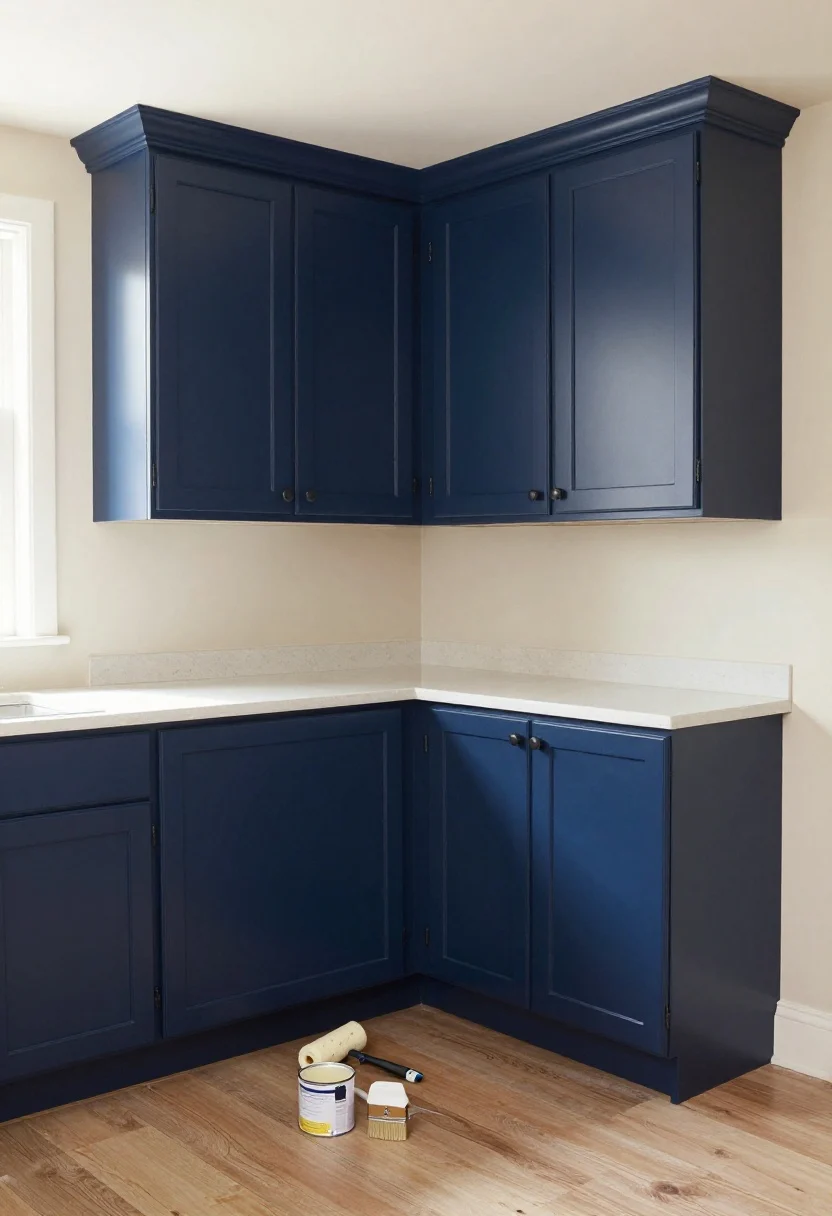
2. Swap Hardware For Jewelry-Level Impact
© 2025 AI Illustrator — Inspiration Only
Cabinet hardware is the kitchen’s earrings: small but transformative. Replacing dated pulls with sleek bars, minimal knobs, or antique brass instantly elevates the whole room.
Mix, But Make It Cohesive
- Finish strategy: Choose one dominant metal (brass, black, or nickel). It’s okay to mix with stainless appliances, just keep hardware consistent.
- Scale matters: Longer pulls on drawers = upscale. Tiny knobs everywhere screams builder-grade.
- Template first: Use a drilling guide so every handle lines up perfectly. Crooked hardware is a dead giveaway.
If your faucet is also sad, pair the new hardware finish with a coordinating (not necessarily matching) faucet for a thoughtful, designer look. FYI, matte black reads modern; warm brass feels luxe.
What to shop for: cabinet pulls/knobs, drilling template, matching hinges if yours are exposed.
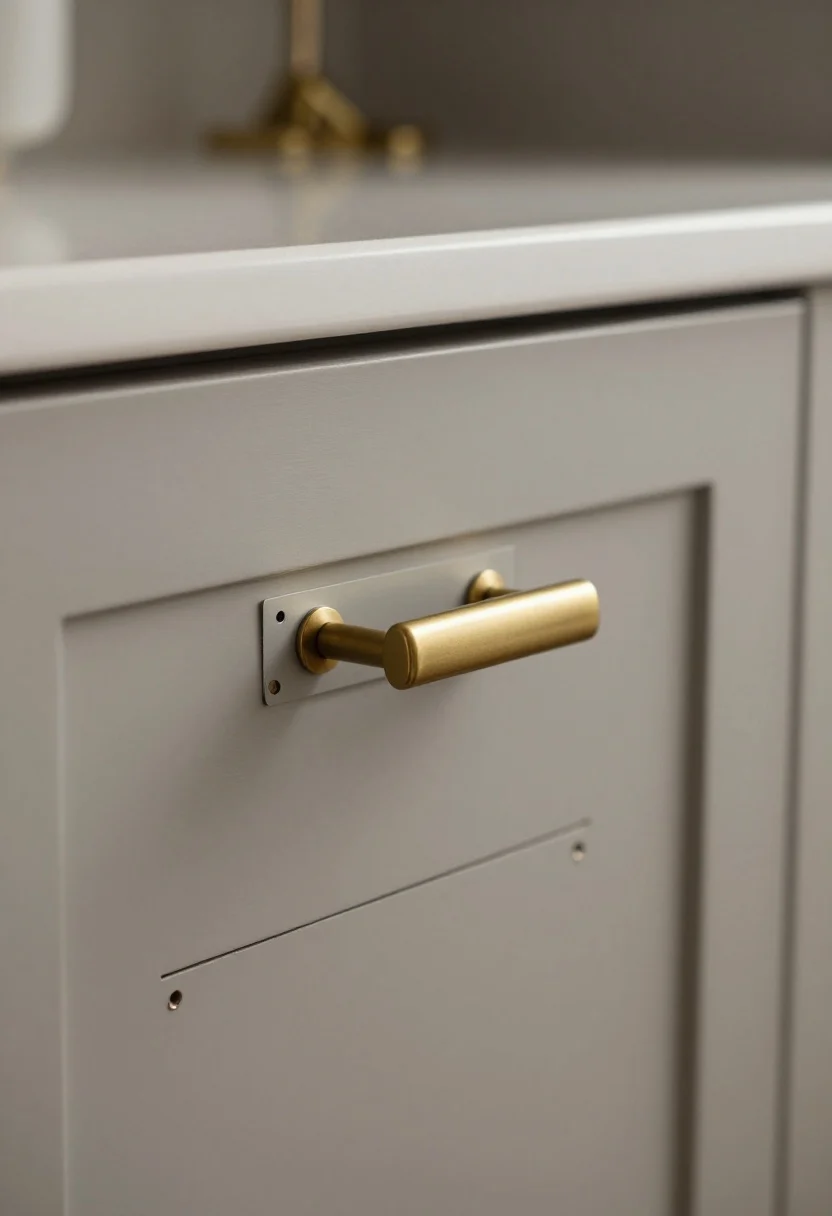
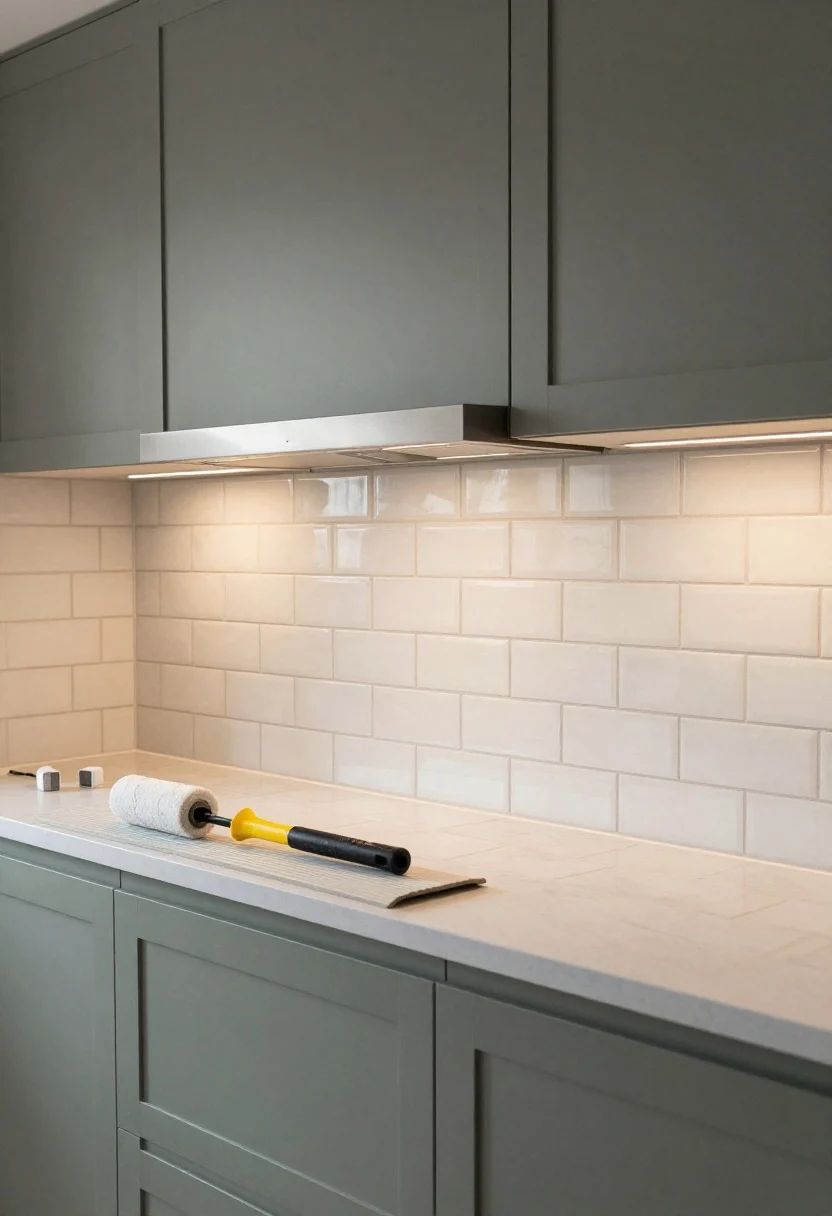
3. Add a Statement Backsplash (Peel, Stick, or Paint)
© 2025 AI Illustrator — Inspiration Only
Backsplashes carry huge visual weight. You don’t need slab marble—peel-and-stick tiles or tile stencils over existing ceramic can look shockingly high-end when installed cleanly.
Design Moves That Feel Expensive
- Run tile to the ceiling behind a range hood or open shelves for drama.
- Choose a classic pattern: subway with a narrow grout line, or a simple herringbone for wow.
- Color play: Soft white with warm gray grout feels chic; glossy greige reads elevated.
Renters: High-quality vinyl or removable tile panels can be tight and realistic—just align edges carefully and use a roller to set them. No one has to know.
What to shop for: peel-and-stick tiles, grout pen, tile spacers, rubber roller.
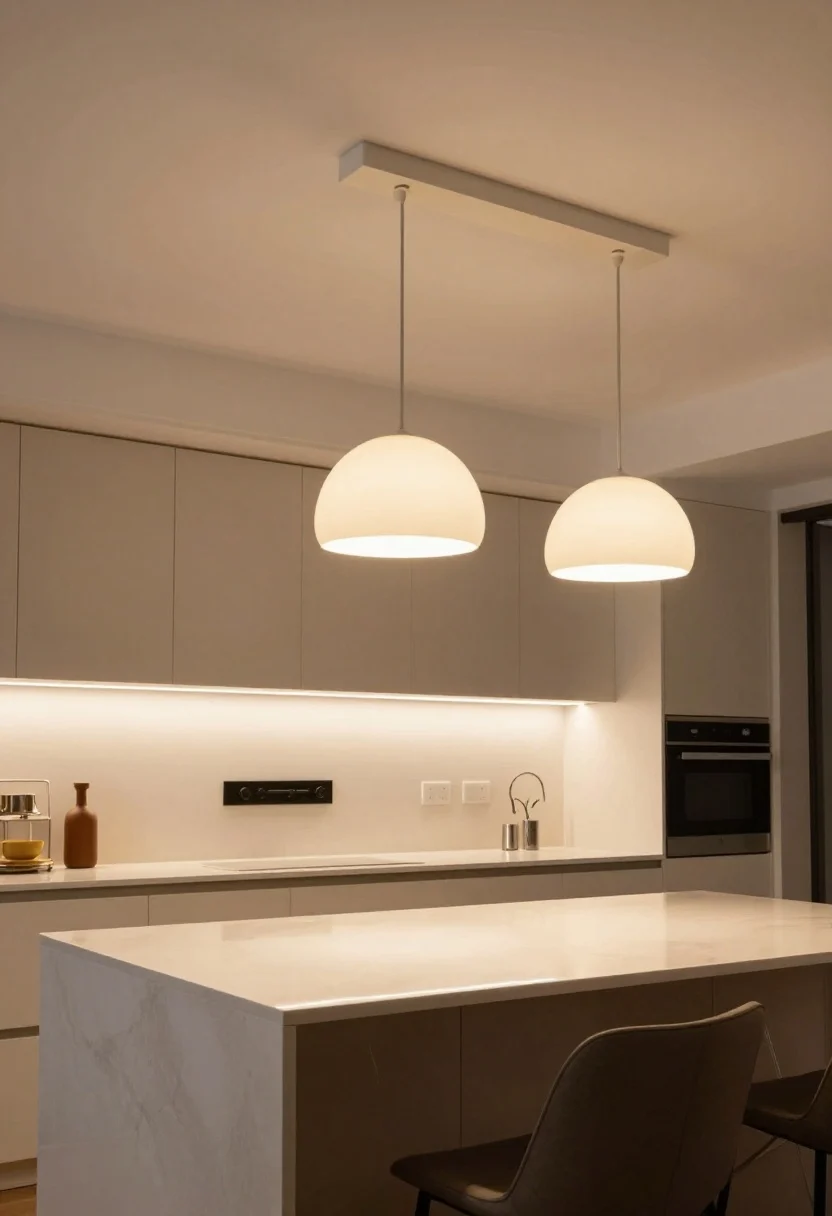
4. Light It Like a Design Showroom
© 2025 AI Illustrator — Inspiration Only
Bad lighting will sabotage even the prettiest cabinets. Want the fastest luxury upgrade? Layer your lights: overhead, task, and accent.
Layered Lighting 101
- Swap the builder dome for a semi-flush fixture with character.
- Add under-cabinet LEDs: plug-in or battery bars transform prep zones and make counters glow.
- Over the island: One oversized pendant or two medium ones—larger shades always look higher-end.
- Dimmer switches make nighttime entertaining feel instantly luxe.
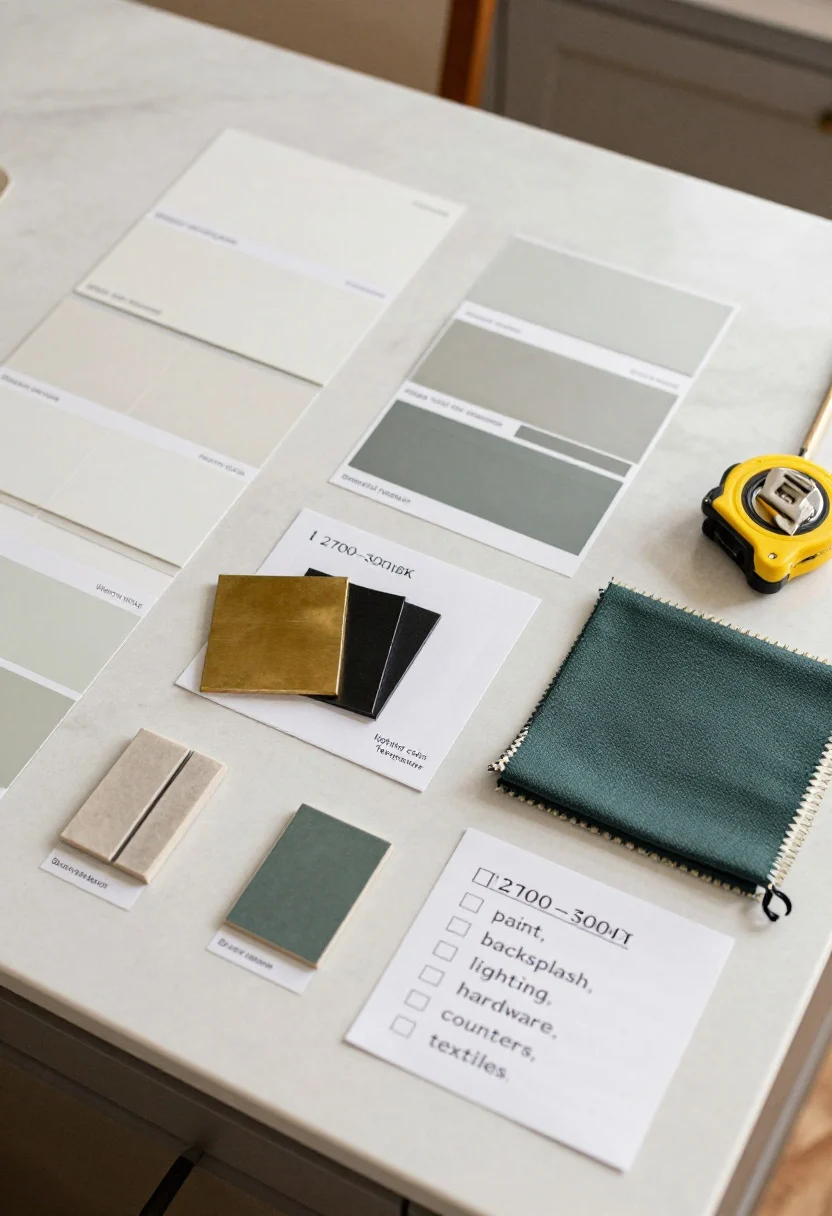
Stick to warm white (2700–3000K). It flatters food, faces, and finishes. Cool light makes everything look like a dentist’s office—hard pass.
What to shop for: pendants, semi-flush fixtures, LED light bars, dimmers.
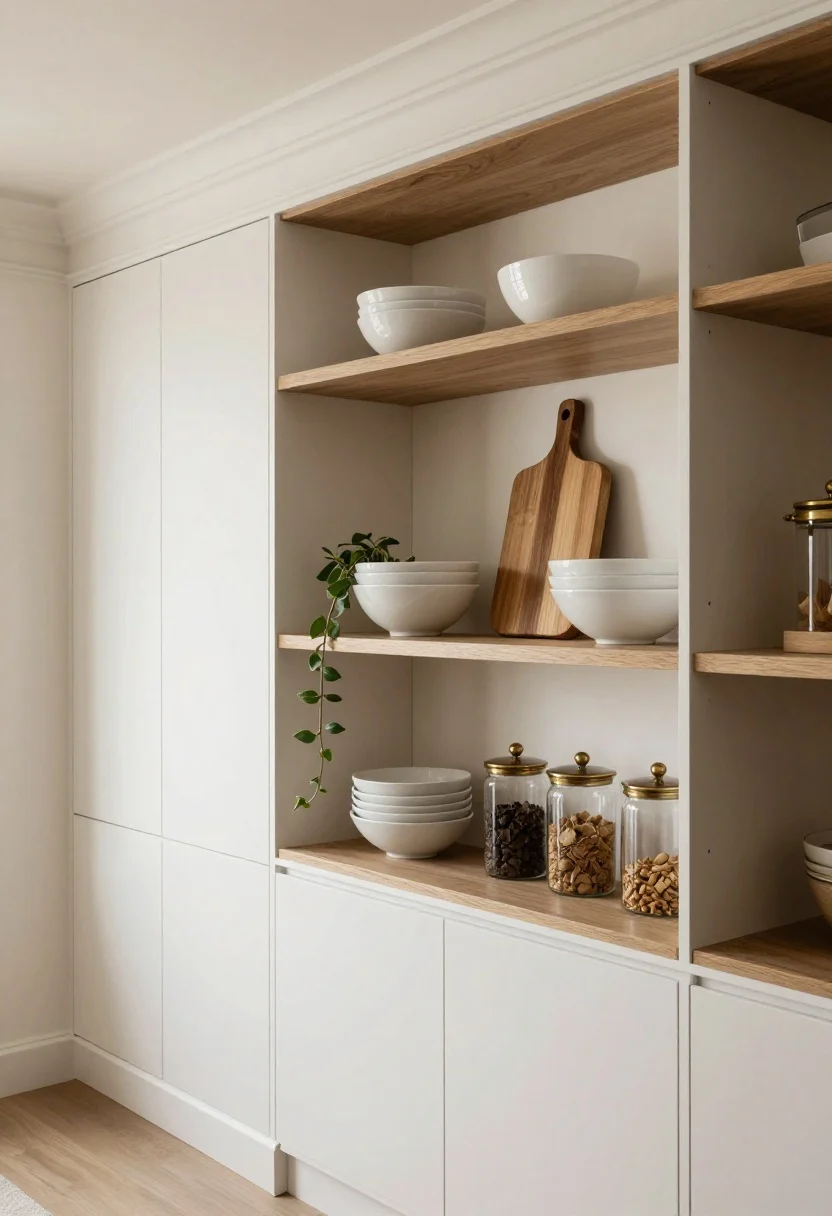
5. Fake Custom Storage With Open Shelves And Trim
© 2025 AI Illustrator — Inspiration Only
Open shelves done right scream “designer,” not “dorm.” Keep them curated and coordinated. For closed cabinets, simple trim add-ons can mimic custom millwork.
Open Shelf Styling, The Non-Clutter Way
- Limit your palette to 2–3 tones (e.g., white, wood, brass) for calm, editorial shelves.
- Group in odd numbers and vary heights—stack bowls, lean a cutting board, add one plant.
- Functional pretty: decant dry goods into glass canisters for that “pantry goals” vibe.
Cabinet Upgrades That Look Built-In
- Add crown or cove molding to the tops of cabinets.
- Fill gaps between cabinets and walls with scribe molding for that custom fit.
- Toe-kick makeover: paint or apply a matching panel so everything feels seamless.
What to shop for: floating shelves, molding/trim, finish nails, wood filler, touch-up paint.
Which Living Room Color Palette Fits You Best?
Discover the palette that reflects your style — take our free quick quiz and get instant decor inspiration!
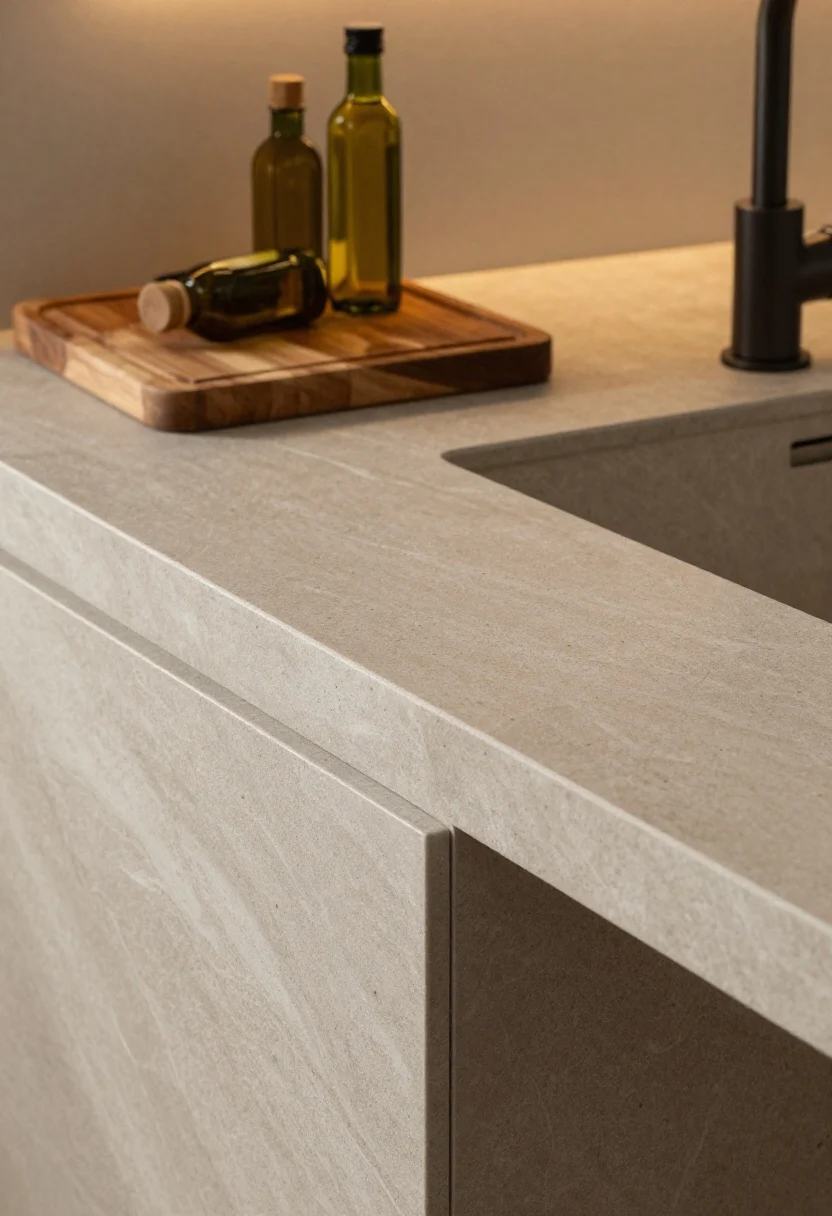
Take the Quiz Now6. Refresh Countertops The Smart Way
© 2025 AI Illustrator — Inspiration Only
New stone isn’t cheap, but you’ve got options. If your counters are structurally fine, use countertop resurfacing kits (stone-look epoxy) or high-quality contact paper for a realistic interim glow-up. For a permanent, still-budget choice, consider butcher block or a remnant slab from a stone yard.
Make It Believable
- Go matte or honed finishes—they photograph and wear better than ultra-glossy fakes.
- Minimize seams and wrap edges cleanly if using film.
- Style smart: a large cutting board and a tray for oils corral clutter and distract from imperfections.
FYI: If you upgrade the faucet at the same time, the whole counter area reads instantly more expensive. It’s like contouring for your sink.
What to shop for: resurfacing kit, countertop film, edge trimmer, silicone caulk, butcher block.
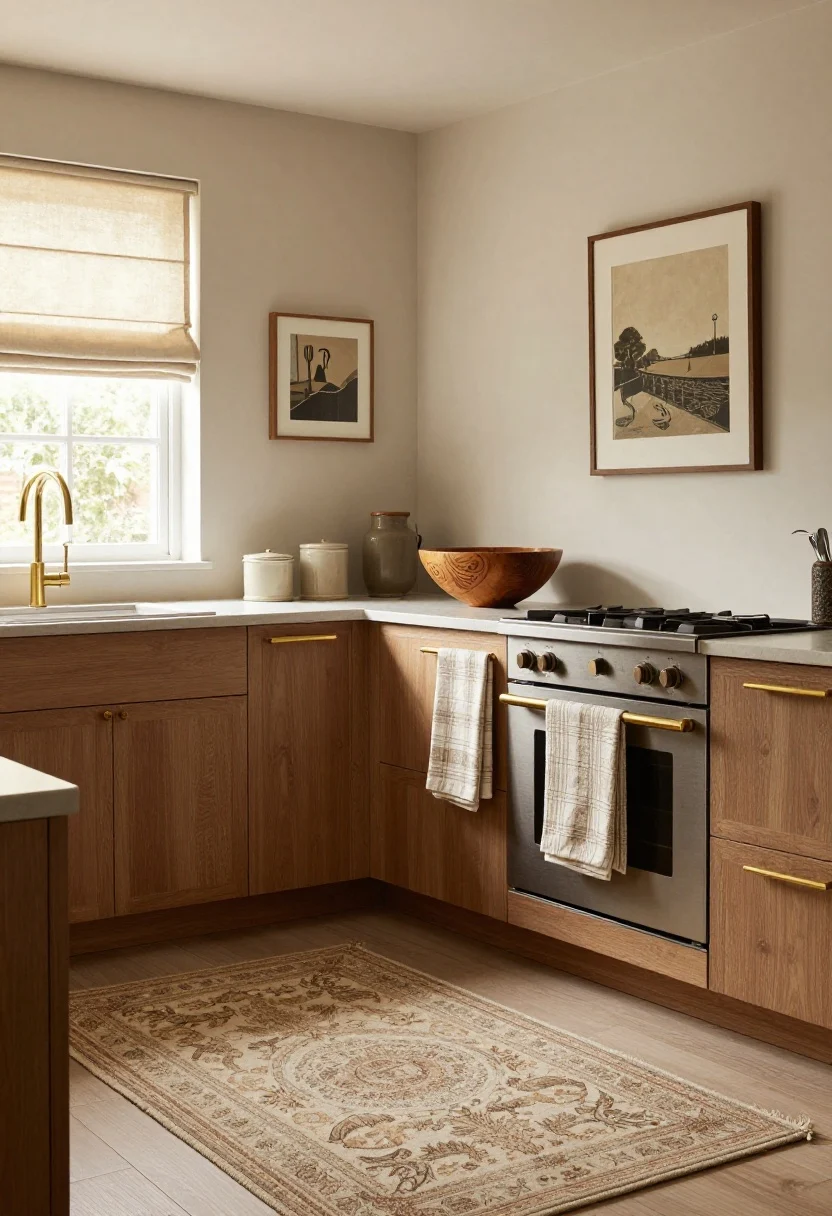
7. Dress The Room: Rugs, Textiles, And Art
© 2025 AI Illustrator — Inspiration Only
This is the secret sauce. Kitchens often look cold because they’re all hard surfaces. Add warmth and personality with textiles and art that look collected, not thrown together.
Layer Soft Finishes Like A Stylist
- Runner rugs (vintage-look or washable) down the galley or in front of the sink add instant richness.
- Roman shade or cafe curtains soften windows and hide awkward views.
- Statement art or a vintage mirror on a blank wall ups the sophistication factor.
- Pretty essentials: matching tea towels, a carved wooden bowl, and ceramic utensil crock—useful and elevated.
Keep patterns restrained and cohesive with your cabinet color and hardware finish. IMO, warm woods + brass + earthy textiles = timeless and expensive-looking.
What to shop for: washable runner, roman shade, framed prints, ceramic canisters, wood boards.
Quick Style Checklist
- Limit the color palette to 3–4 shades.
- Repeat finishes at least twice (brass hardware + brass frame).
- Hide plastic packaging; decant and tray everything.
Conclusion
© 2025 AI Illustrator — Inspiration Only
You don’t need a gut reno to get a high-end kitchen vibe—just smart changes with maximum visual payoff. Focus on paint, hardware, backsplash, and lighting first, then layer in storage tweaks, countertop refreshes, and soft finishes. Start with one weekend project and build from there. Your latte’s going to taste better already.
FAQ
© 2025 AI Illustrator — Inspiration Only
What’s the best order to tackle these upgrades?
Do the messy stuff first: paint cabinets and walls, then backsplash, then lighting and hardware. After that, address counters and finish with textiles and styling. This avoids rework and keeps momentum.
How do I pick a cabinet color that won’t date quickly?
Choose a neutral with depth: warm white, greige, taupe, or desaturated navy/green. Test large swatches at different times of day. If your floors are warm, lean warm; if they’re cool, pick a neutral that balances, not clashes.
Can I mix metal finishes without it looking chaotic?
Yes—keep one dominant metal (e.g., brass for hardware), then let stainless live on appliances. Add a small accent (like a black sconce) if needed. Repeat each finish at least twice for intention, not accident.
Shop the Look on Amazon
Disclosure: As an Amazon Associate, this site may earn from qualifying purchases.
These product categories fit this article and give readers an easy next step when they are ready to shop.
- Cabinet Paint — Transforms dated cabinets with durable, scrubbable finish.
- Hardware Set — Instant upgrade; cohesive finishes elevate the whole space.
- Backsplash Tiles — High-impact visual change without major renovation.
- LED Light Bars — Layers task lighting and adds a luxe glow.
- Kitchen Runner — Adds warmth, texture, and softness to hard surfaces.