
How to Paint Wood Paneling for a Modern Update
Wood Panel Painting: A Cozy DIY Home Makeover
So there I was, nestled deep in the embrace of my worn-out recliner, a mottled blanket draped over my not-so-fancy pajama-clad legs. The coffee was hot—thank goodness for the miraculous powers of caffeine—and sunlight streamed through the window, pooling in all the best spots on the dusty floorboards. And yet, as I gazed at my walls, a wave of ennui washed over me. It was time for a little DIY home makeover, don’t you think?
You see, my living room was caught in a time warp, the kind that screams “half-hearted attempts at adulthood.” I had walls clad in wood paneling that hadn’t seen a coat of paint since the Reagan administration, and it suddenly felt like those brown hues were sucking the joy out of my otherwise cozy refuge. But the thought of tackling such a project felt daunting, to say the least.
But you know what? A little introspection—and a few too many mugs of pumpkin spice coffee—told me this was the perfect opportunity for some DIY home makeover magic. So armed with a paintbrush, some caulk, and a sprinkle of naïveté, I decided to take on the wood paneling. And let me tell you, it was quite the journey.
Which Home Style Fits Your Space?
Answer 5 quick questions to find your perfect interior style and inspiration.

© 2025 AI Illustrator — Inspiration Only
The Price of Embracing Your Inner Artist
Listen, I’ve had my share of ‘creative endeavors’ go horribly wrong (remember the unfortunate tie-dye bedspread?). But this time, I decided to channel my inner artist, and I figured, how hard could it really be? After all, if Pinterest can make it look as easy as pie, surely I can handle a few strokes of paint on some tired wood panels.
First things first, I gathered my supplies, which included:
- Paint (preferably a color that feels cheerful rather than cave-like)
- Primer (don’t skip this, trust me)
- A paint roller and brush (this isn’t the time to get cheap, folks)
- Caulk (for those annoying little gaps in the seams—don’t overlook this part)
- Drop cloths (because you don’t want a field of colors on your carpet that will turn into a DIY disaster)
Prep Work: The Unsung Hero of Any Project
Okay, here comes the not-so-fun part: prep work. Ugh! Just the phrase makes me want to curl up with my blanket and a stack of Netflix episodes. But one thing I’ve learned from my sweet mother is that no good project starts without a proper foundation—or, in this case, prep.
- Clean the Panels: Dust is not an artist’s ally. A quick wipe-down with a wet cloth can work wonders.
- Fill in Gaps: If you have spaces between your wood panels, caulking is your best friend. Just don’t get too cocky and overdo it. I once thought I could caulk everything in sight. Let’s just say I spent three hours trying to unstick my fingers from it.
- Sand the Surface: A light sanding will help the primer and paint stick better. Just don’t go all Edward Scissorhands on your panels; we want to tame that wood, not destroy it!
Once you’ve tackled the prep work with the enthusiasm of a toddler in a candy store, it’s time to bring out the big guns: the primer!
© 2025 AI Illustrator — Inspiration Only
Let’s Talk Primer: Your Bestie
Now, I know primer isn’t the most glamorous aspect of a DIY home makeover, but it’s like the unsung hero of this saga. Grab a can—make sure it’s tinted to your topcoat—and slather that on like you’re frosting a cake. It might take a second coat for good measure, but trust me: when you see the final result, you’ll thank me.
There’s something oddly therapeutic about rolling on primer, watching your dull, lifeless wood panels slowly fade into the backdrop of your new canvas. I put on some music, and suddenly, the world was my gallery!
Choose Your Color Wisely
So, here’s the exciting part: color selection! It’s the make or break of your project. Go bold, get adventurous, or—if you’re like me—just pick something that plays well with your existing décor. My golden rule? Whatever you pick, ensure it brightens the room. Think soft pastels, or crisp whites that reflect that lovely sunlight pooling across your velvet throw blanket.
Also, if you’re struggling between ten different shades of blue, why not grab samples and try them out on a small patch first? It’ll save you from many hysterical “What was I thinking?!” moments later.
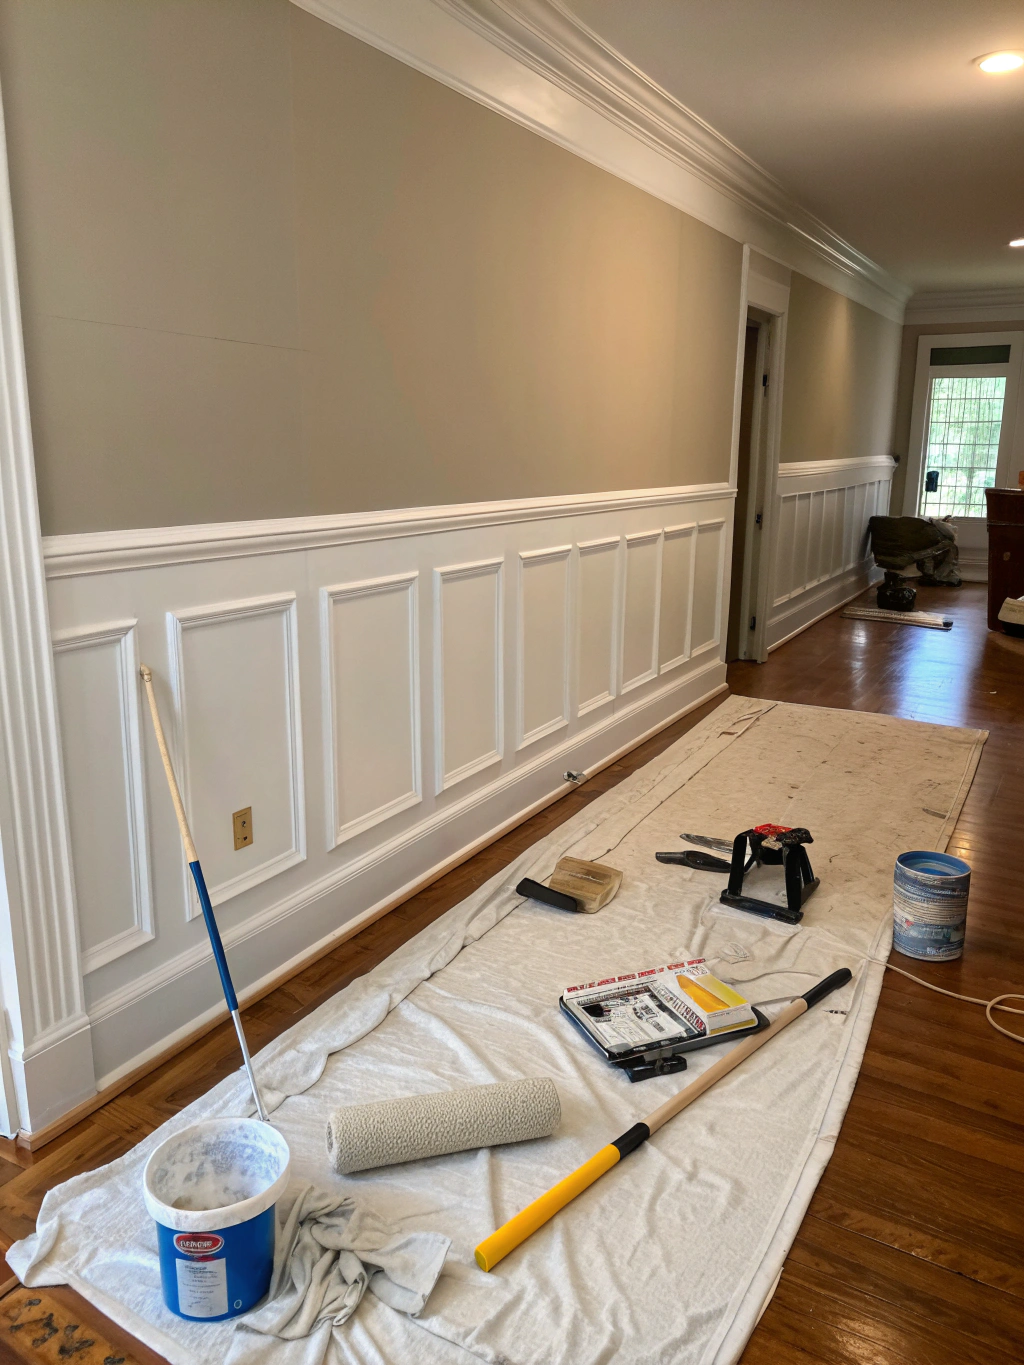
Painting Technique: Roll Like a Professional
This part is straightforward. Grab your roller and get to work. For the panels, I found that using the roller for broad areas and a brush for corners and edges gave the best results. It’s like being a kid again, only your masterpiece is not just a spilled box of crayons on the wall but a striking new aesthetic for your home!
- Roll in Sections: Start from one corner and work your way across. You want to ensure even strokes for a professional finish.
- Plan for Dry Time: Don’t rush! Let that sweet paint dry according to the instructions so you avoid a sticky situation.
Engineering whole new worlds on your living room wall sounds great until the paint sticks to you like a new puppy.
© 2025 AI Illustrator — Inspiration Only
Furniture: A Canvas of Colors
Let’s be honest: while the walls are your canvas, the furniture is your theme. After you’ve painted, take a moment to assess your furniture situation. Maybe those wobbly side tables need a fresh coat too. Personally, I took a chance on second-hand finds from Goodwill—and I was thrilled! They added character and contrast without a hefty price tag.
Which Living Room Color Palette Fits You Best?
Discover the palette that reflects your style — take our free quick quiz and get instant decor inspiration!
Take the Quiz NowRethink your positioning as well; maybe shift things around to create new nooks and crannies. There’s nothing like transforming a room by moving a couch an inch to the right.
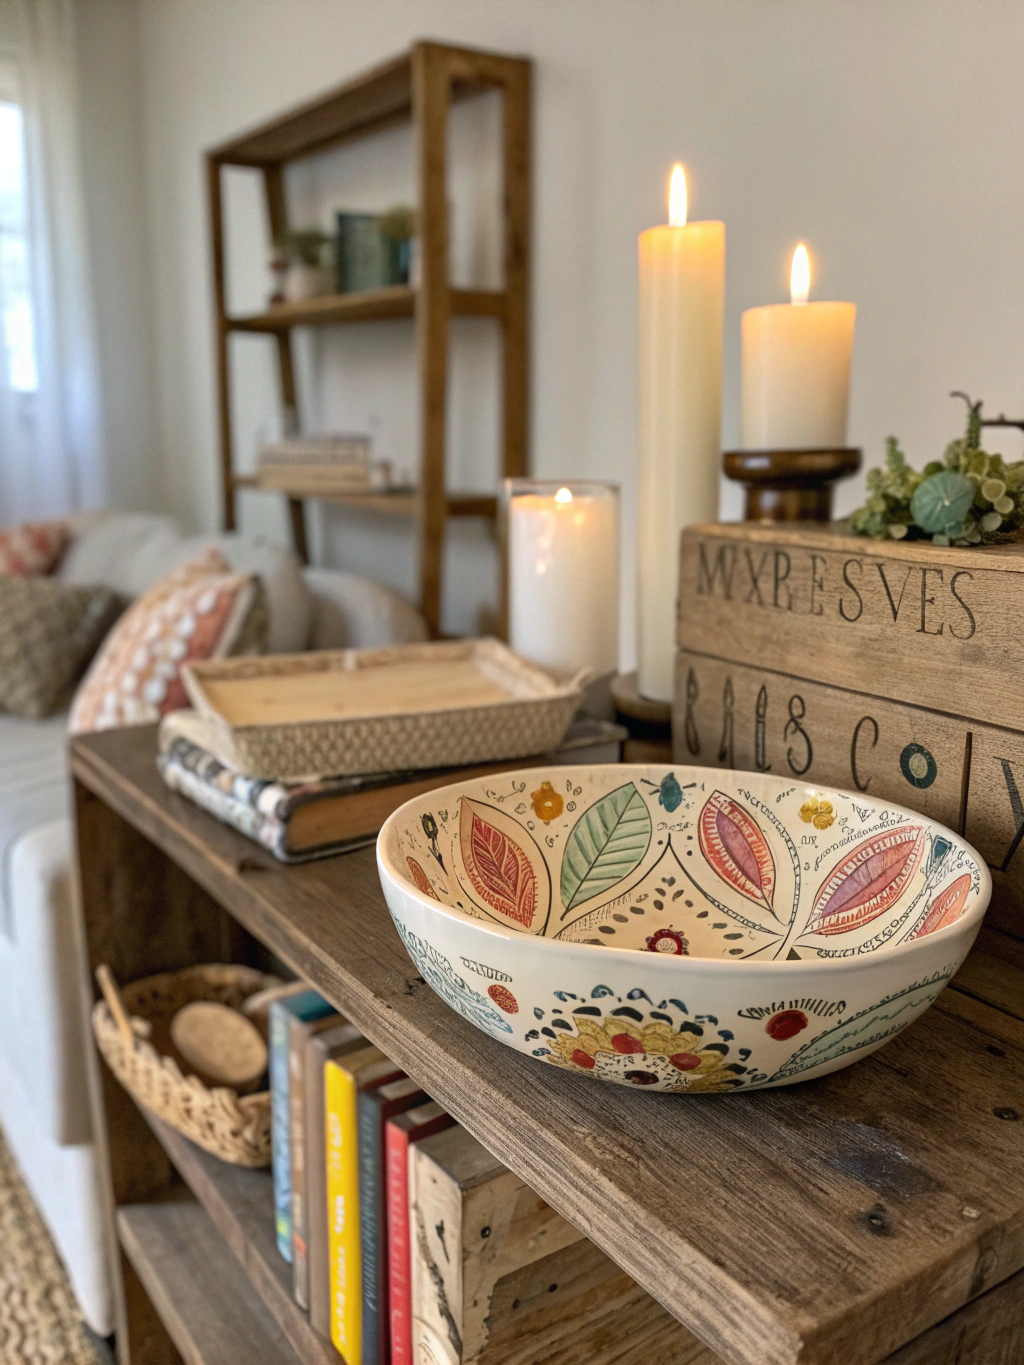
Finishing Touches: Let Your Personality Shine
To wrap it up (and because I’m procrastinating a bit on those chores), don’t forget about the little details. Throw pillows, artwork, or even some cute plants can bring those freshly painted panels to life. I threw caution to the wind and bought a few succulents; I heard they’re difficult to kill—so basically, they’re perfect for me.
Tips for Finishing Touches:
- Layering textures creates depth. Mix and match fabrics, from soft velvets to crisp linens.
- Lighting matters! A strategically placed lamp or twinkling fairy lights can warm up the room in ways paint simply can’t.
- Art is personal. Frame some family photos or grab whimsical pieces from local artists.
Conclusion: Embrace Your DIY Home Makeover Journey
And there you have it: my little adventure in wood panel painting. It turned out to be more than just freshening up a space; it’s been a reminder of why I love cozy corners and bright spots in my home. It took some patience, a slight mess, and definitely more coffee than I care to admit, but it was absolutely worth it.
Just remember, every DIY home makeover adventure is unique, shaped by your quirks and creativity. So grab that paintbrush, throw on those pajamas (always), and embrace the chaos with an open heart and maybe a sprinkle of self-deprecating humor.
Now, if you’ll excuse me, I’ve been avoiding those chores long enough… but I might just linger a few more moments in appreciation of those beautiful, freshly painted panels. Happy DIY-ing!